4 Straighten and rotate
Two analyses, Main Traits and Head Angles, require the fish to be in a straight and horizontal position. For such analyses the software allows to adjust the image if required. For the Main Traits analysis this is the second step, after adding the scale as described in Chapter 3, whereas for the Head Angles analysis it is the first step. The following dialog box appears.
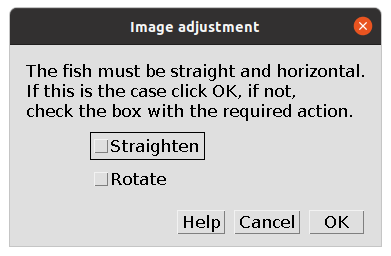
It allows to select one of two options:
Straighten: to straighten the fish if it is in a bent position.Rotate: to rotate the image and set the fish in an horizontal position.
Therefore, if the fish is not straight and horizontal, select the appropriate option and click OK. Otherwise, select No adjustments and click OK to continue.
Straighten
When the fish is bent, select Straighten and click OK. The following dialog box appears together with the Line Width window.
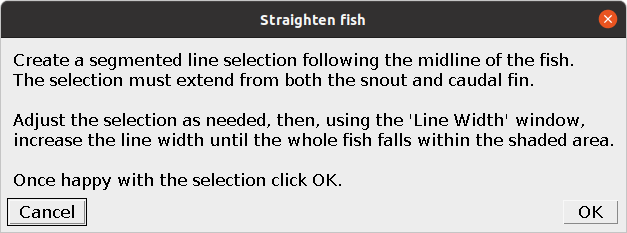
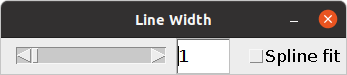
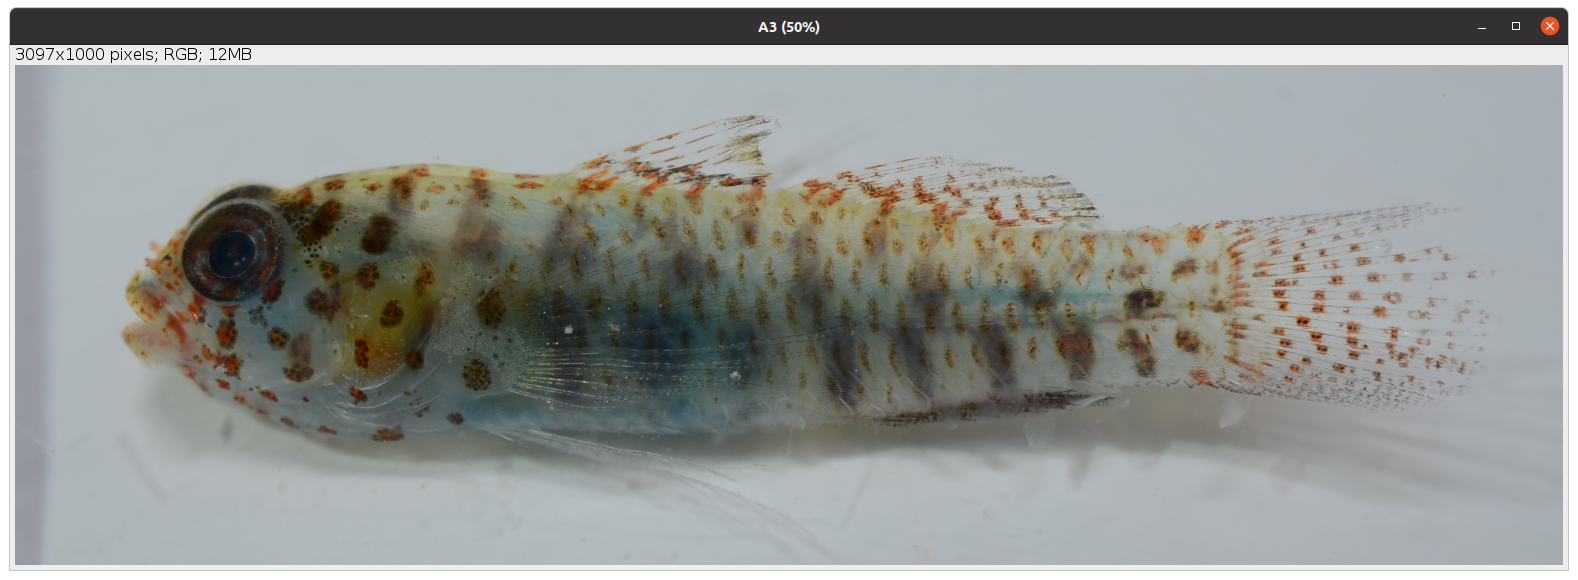
Follow the instructions given in the dialog box, create a segmented line selection, increase the line width until the whole fish falls within the shaded area and click OK. The fish will be straightened and in an horizontal position. The following figure shows an example of fish straightening.
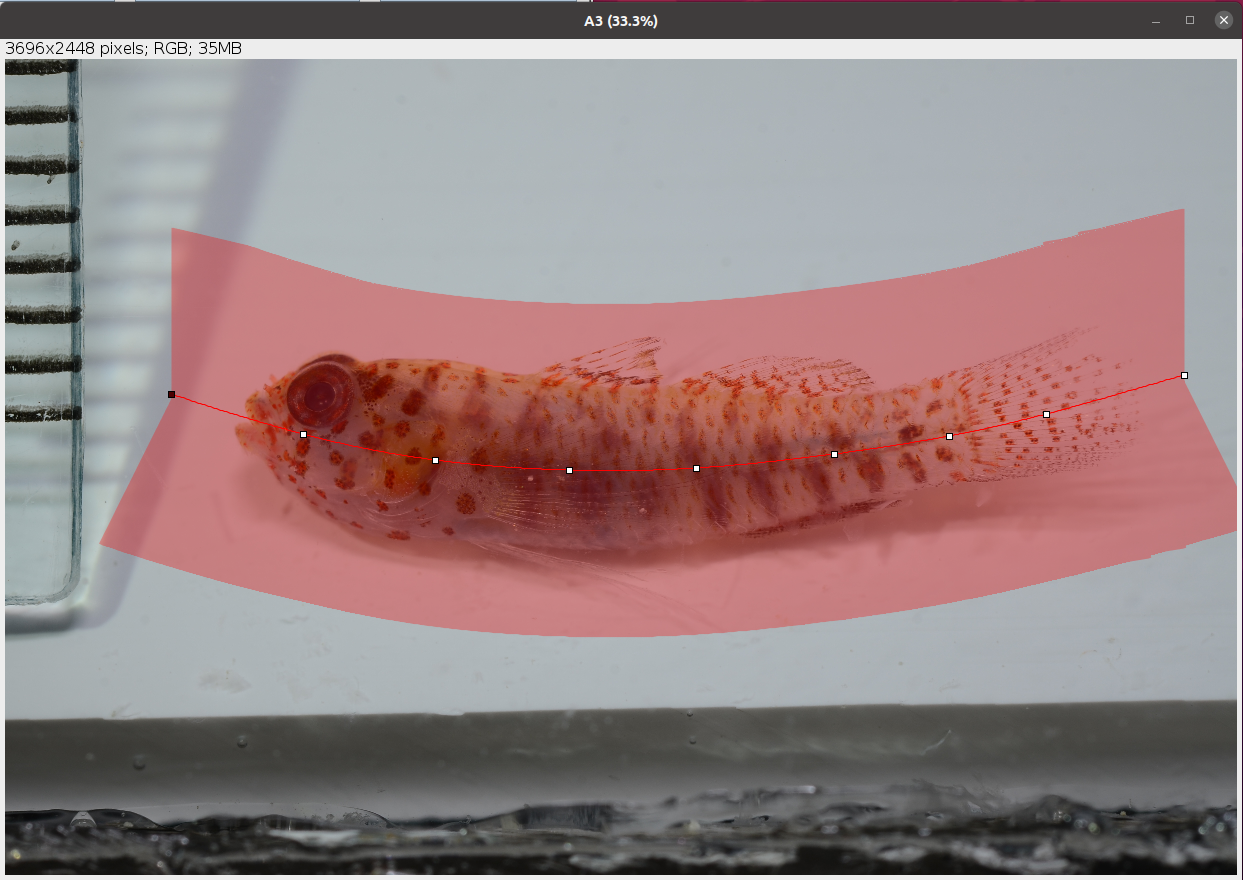
Selecting Spline fit within the Line Width window can improve the selection and straightening of the fish.
If the fish is overly bent, straightening can lead to deformation of the body which affects the measurement of the traits. Use this option with care.
Rotate
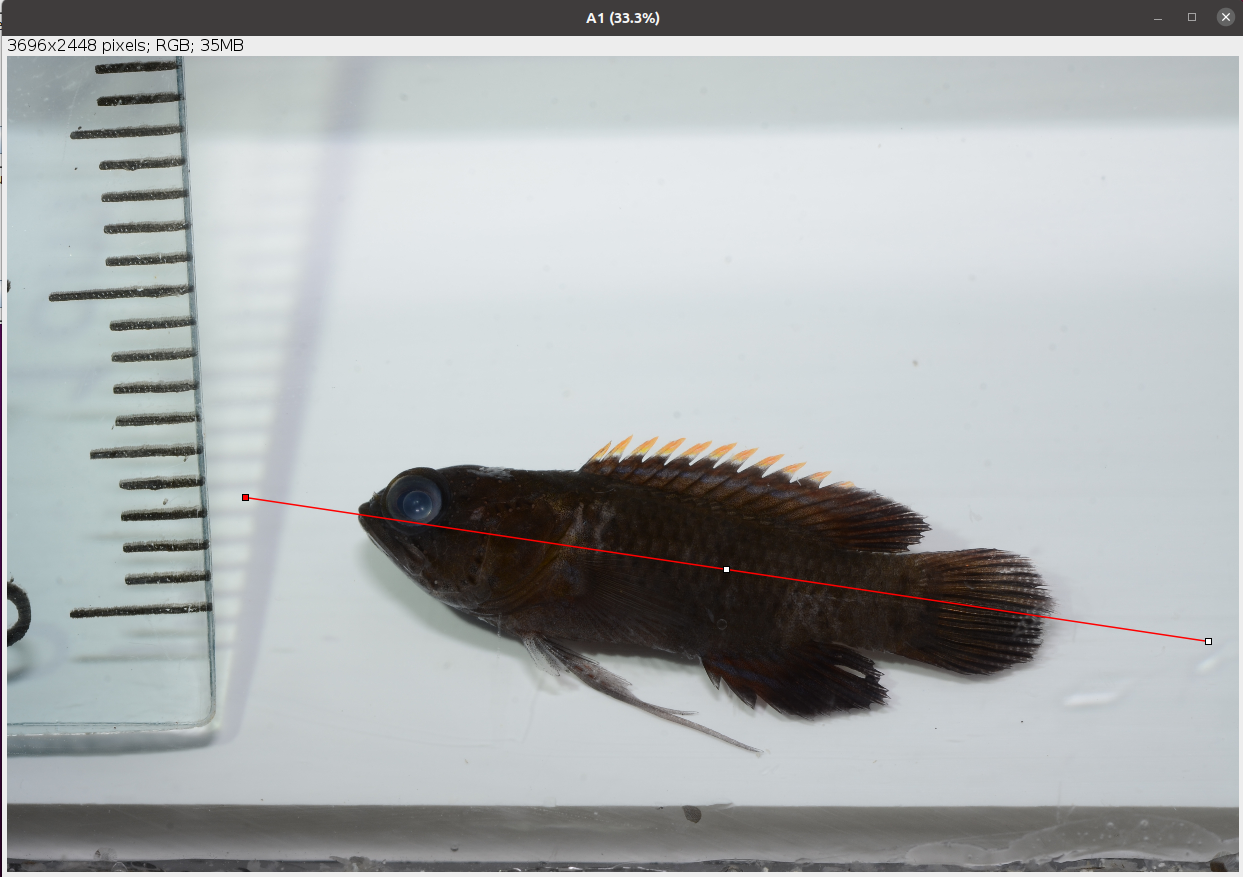
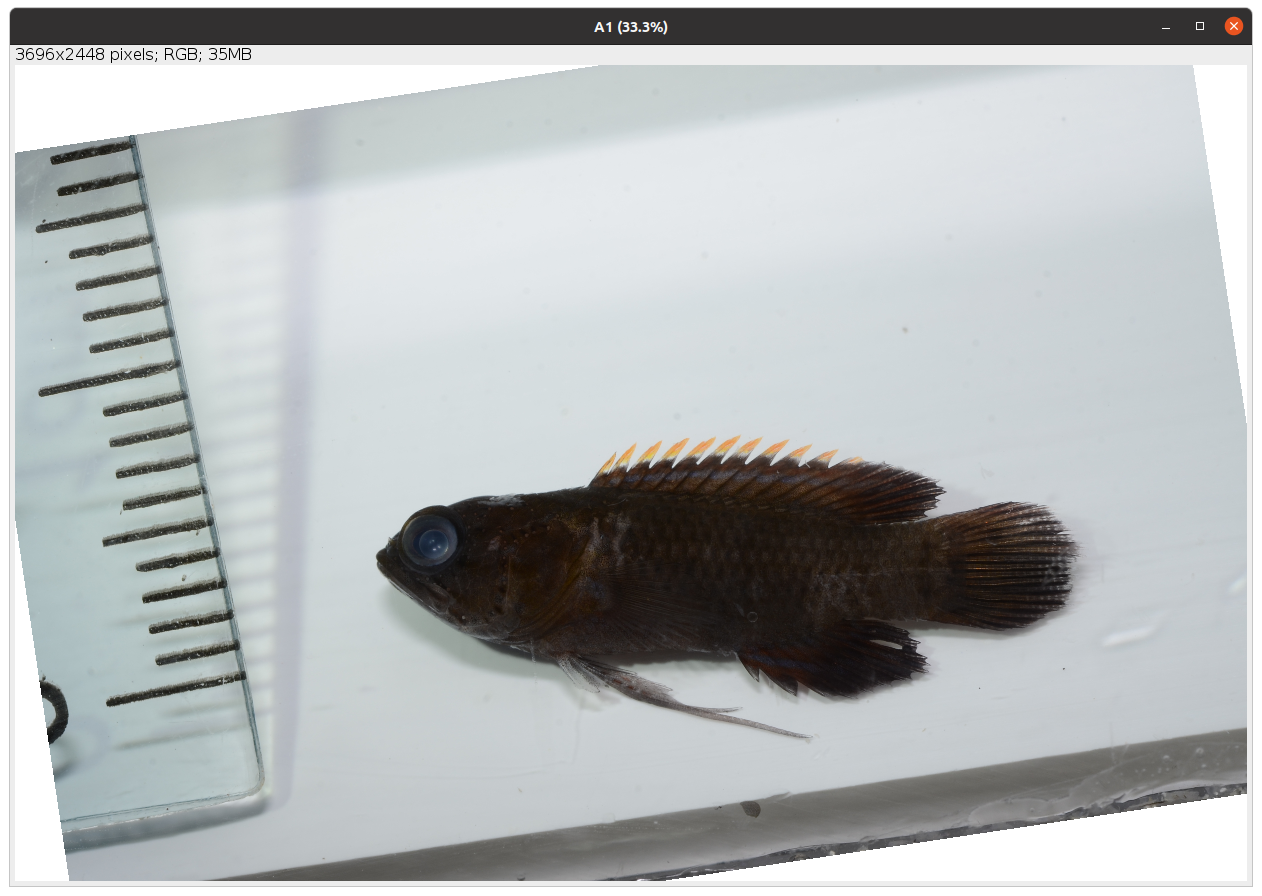
When the fish is straight but not horizontal, select Rotate and click OK. The following dialog box appears.
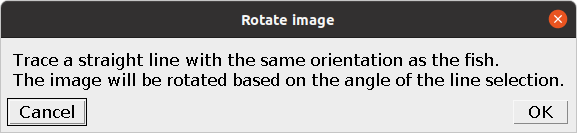
Follow the instructions given in the dialog box, trace a line and click OK. The image will be rotated and, if the line was placed well, the fish will be in an horizontal position. The following figure shows an example of image rotation.